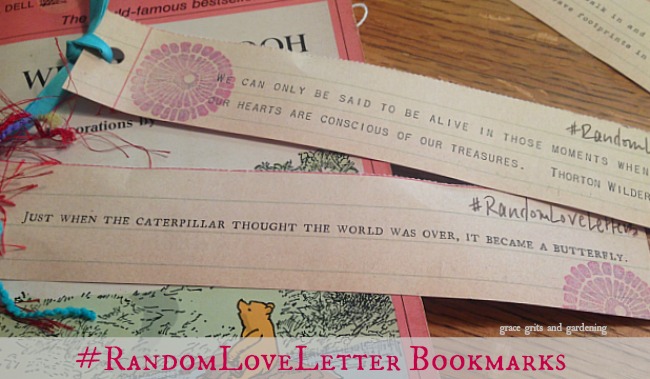
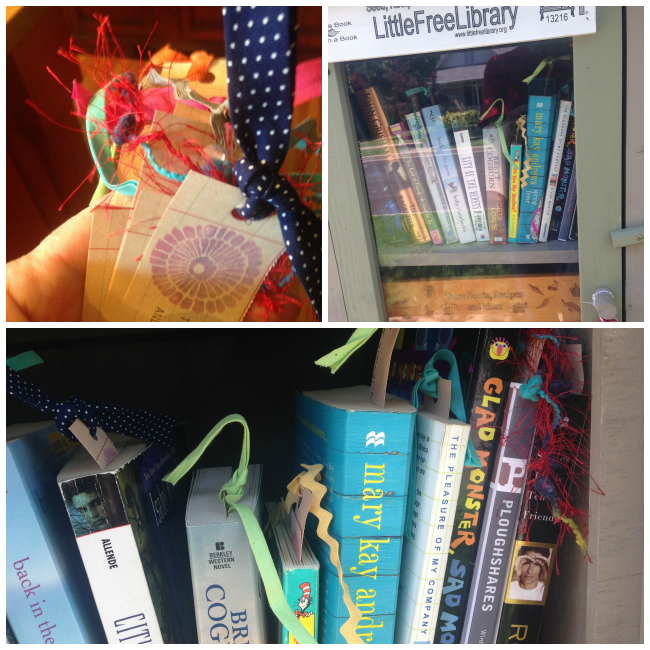
My friend Sarah, who blogs at Random Love Letter to Adventure, has been participating in a #RandomLoveLetter Instagram Challenge during the month of June. The idea behind this IG micro-challenge is to leave a note, a “random love letter”, in a public place for someone to find. Something unexpected to brighten someone’s day. As usual, I’m extremely late to the party, but on Sunday I became inspired to create #RandomLoveLetter Bookmarks to leave in each of the books in my Little Free Library.
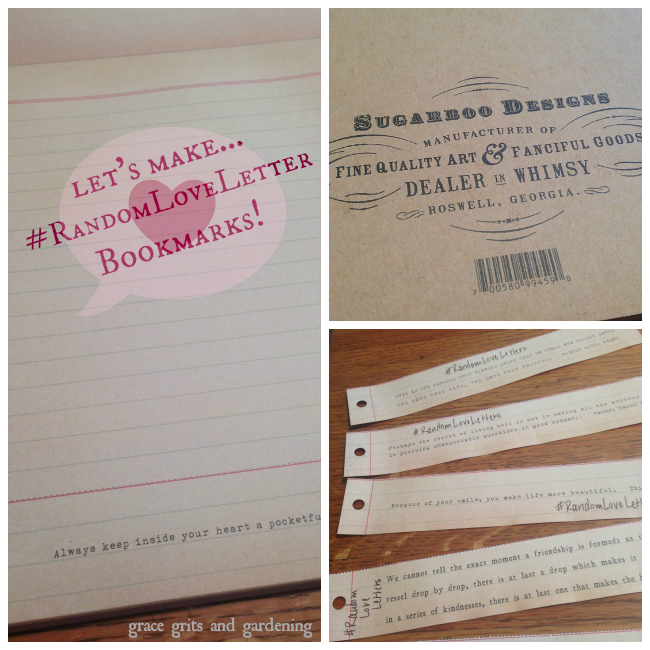
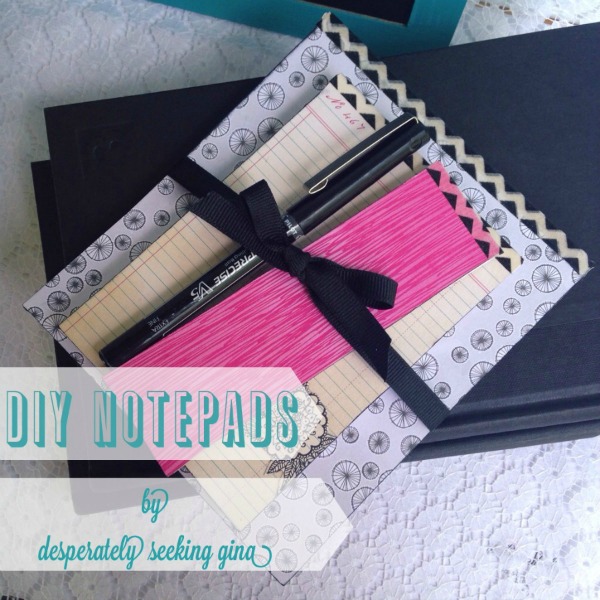
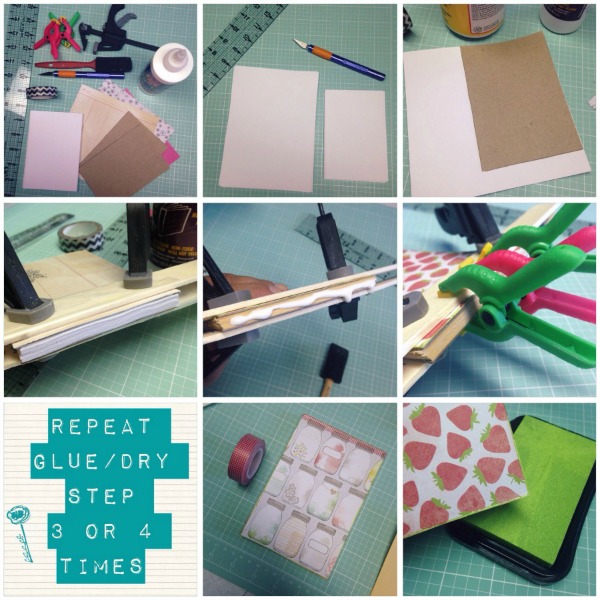
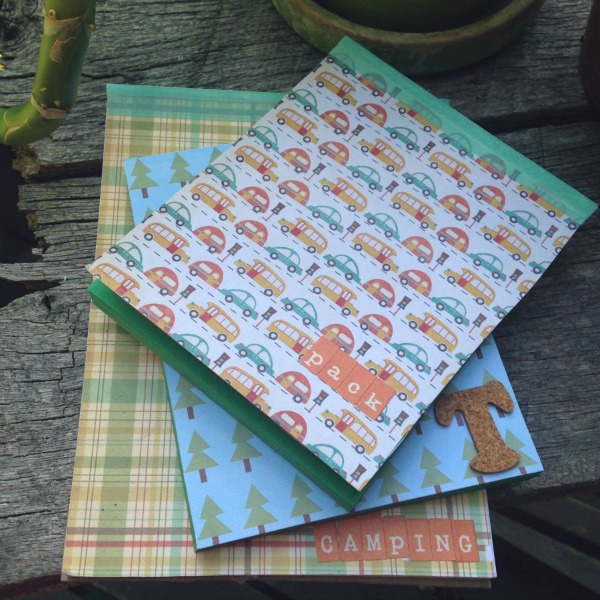
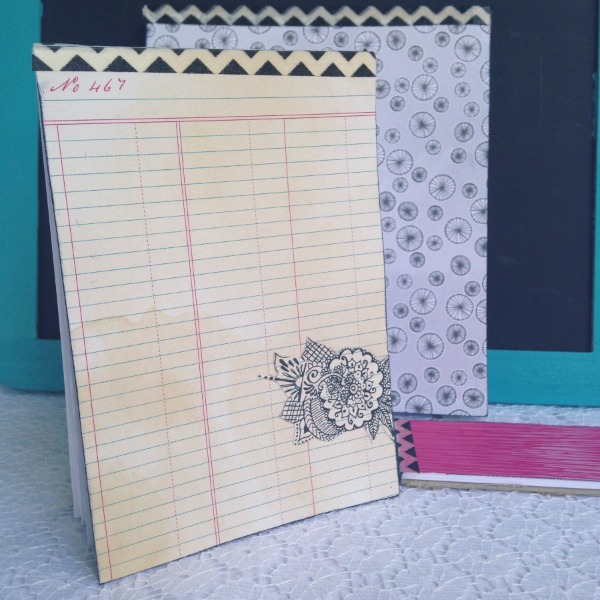
This was a simple craft project especially since I had this incredible notepad from SugarBoo Designs purchased at Shindig Paperie in Fayetteville. There’s an inspirational saying or quote at the bottom of each page.
Not only is each page already perforated, there’s also a hole on one end begging for a ribbon. (If you don’t want to buy such a notepad, you could type up your own, right?)
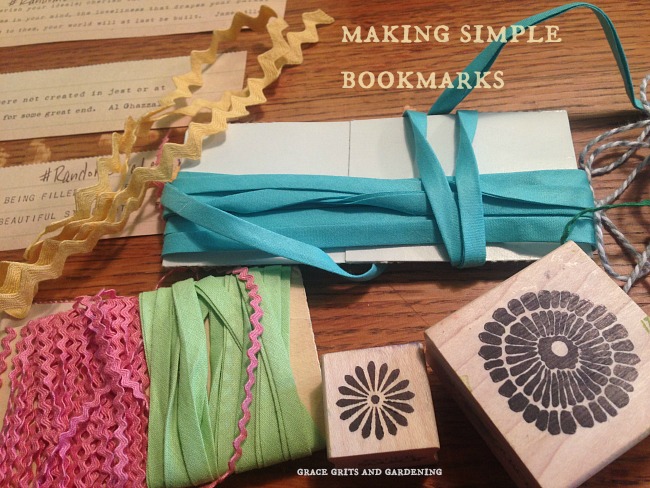
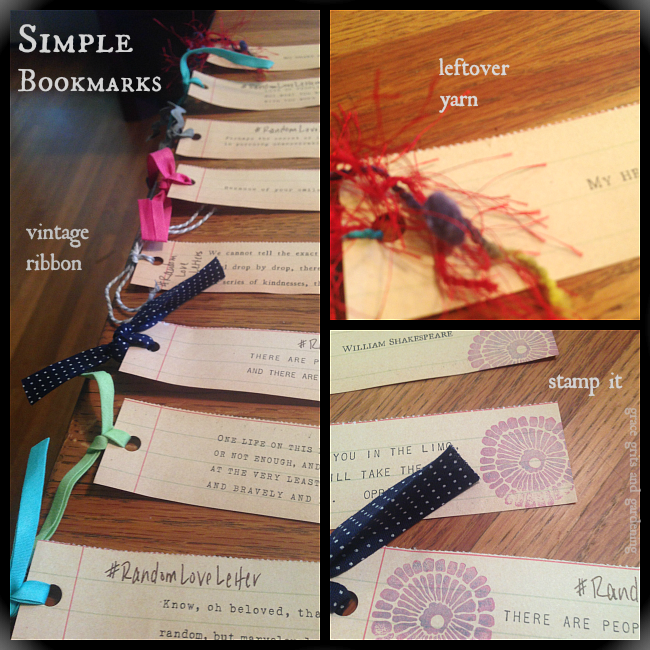
This project is justification for saving every scrap of ribbon you happen upon all the live-long year. Not that I do that:) And the packages of vintage rick-rack you weren’t sure how you would use? Bingo.
Those ink stamps? Use them!
For a completely spur of the moment project, this turned out to be really fun. I made enough bookmarks for every book in my Little Free Library plus a few for later.
Speaking of books...I’m doing pretty well working my way through my “not so typical” summer reading list. If you missed my summer reading list click HERE.
So far I’ve finished The Girl on the Train (★★★★), The Deep Green Sea (★★★★), The Pleasure of My Company (★★★★), Hold Still Sally Mann (★★★), The Life and Adventures of an Arkansaw Doctor (★★★). I’ve also read a few that weren’t on my list including The Vacationers (★★★), Biography of Marilyn Monroe (★★★), and Stoning the Devil (★★★★).
What’s everyone reading?
Happy July 1! (Can you believe it’s July?)
Grace Grits and Gardening
Farm. Food. Garden. Life.
[tweetthis]A great reason to break out the #craft supplies! @Sarahdshotts @LtlFreeLibrary #RandomLoveLetter #summer #read [/tweetthis]
Musical Pairing:
Love Letter, Bangin’ Rackettes
