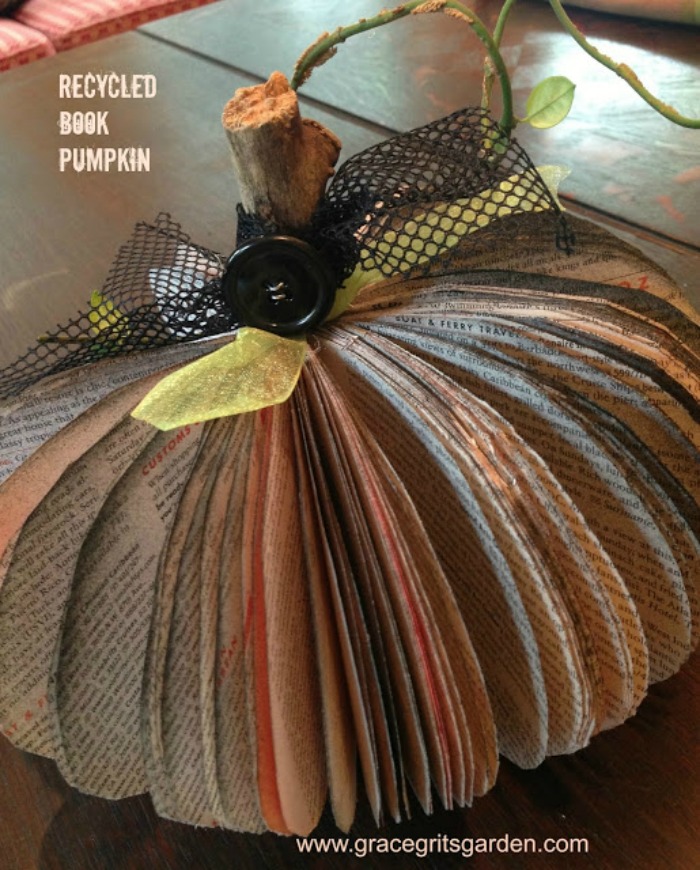
Once September rolls around, I am all about decorating for Halloween.ย I saw a similar recycled book pumpkinย project on Pinterest and couldn’t wait to try it.The hardest part of the project for me was selecting which book to use. ‘Defacing’ a book is downright sinful; however, I decided an old Fodor travel book on the Caribbean was expendable. If I return to the islands, I’ll buy a more up-to-date issue.Continue Reading
ย
Mixed Media Art Project
I made this mixed media piece for baby Haley, my friend Jenny’s new daughter.
Although the project takes several hours, it is fun, creative, and not as difficult as it appears.
Supplies:
Blank artist’s canvas
Mod Podge
Scrapbook paper
Vintage buttons
Vintage rick rack
Scrapbook stickers
Pictures from old children’s books
Glue Gun
Paintbrush
Scissors / Paper Cutter
I know, I know, I KNOW it’s sacrilegious to cut out pages from books, but I buy these books specifically for this purpose at estate sales and at Half Price Books to lessen the pain…
I also buy stickers and scrapbook paper on sale from Michaels, Hobby Lobby and Target, knowing I will eventually find a use for everything.
sheet of scrapbook paper – various colors/prints |
vintage buttons |
When I prepare to do one of these projects, I never have a plan other than the general theme. In this case, ‘baby girl’ theme. On my computer, I printed lines from Mary Had A Little Lamb, substituting Haley to make it personalized. This phrase becomes the backdrop for the project. I glued this first piece of scrapbook paper onto my canvas with Mod Podge, then began adding layers of paper.
gluing rick rack along side |
The key is to layer and layer and layer the canvas with pieces and strips of scrapbook paper coating each side and seam with magical mystical Mod Podge. The more layers the richer and more interesting the finished piece.
Allow coats to dry before adding more layers. If you tear a piece of paper, no worries. Add another piece. If two pieces just don’t seem to work side by side, glue on a button. (Buttons should be adhered with hot glue rather than Mod Podge…)
Don’t forget to decorate the back with your name and date.
Remember, this isn’t supposed to be perfect. It’s hand crafted.
Note: This project isn’t exclusive to baby gifts…I made the following piece with drawings of my puppies and pages about dogs from vintage books. Favorite sports team is another fun theme. You are limited only by your imagination.
Lucy and Annabelle |
Have fun!
talya
Grace Grits & Gardening
p.s. This is the gift I made several years ago for Haley’s big sister, Samantha.
Wine Cork Craft Project
We drink wine in our house. As a result, we have bowls and bowls of wine corks. Only so many can be used as decorations.
I decided to put a few to work this spring as garden markers. This project is simple and quick.
All you need are corks, wooden skewers and a sharpie marker.
Secure the skewer to the bottom of the cork. The skewer is sharp so it can easily be screwed in. Cut or break the skewer to the size desired. Label the cork with the plant and stake it in the ground.
That’s it!
Annabelle, my garden helper:)
talya
Grace Grits & Gardening