It’s time to harvest Trombetta squash seeds!
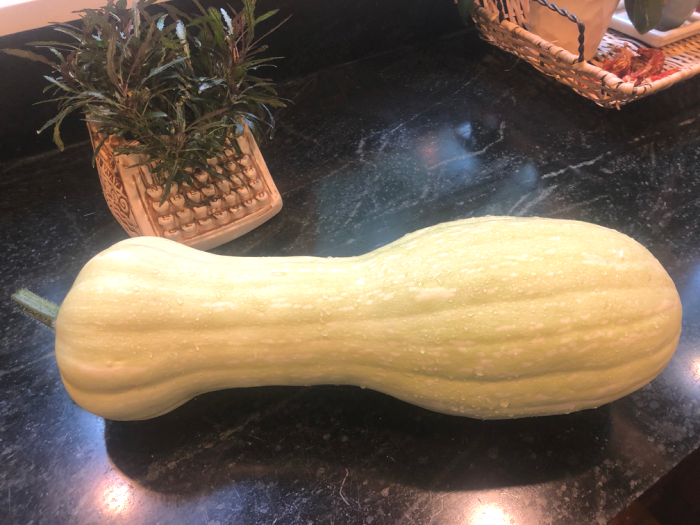
If you’ve been following my summer adventures of growing Trombetta squash, you may remember I allowed one plant to grow until it reached the size of a hefty toddler before picking it. I did this solely for seed harvesting.
I’ve never harvested squash seeds before. But this particular variety of Trombetta squash seed is hard to come by. So I knew there was magic inside this big guy.
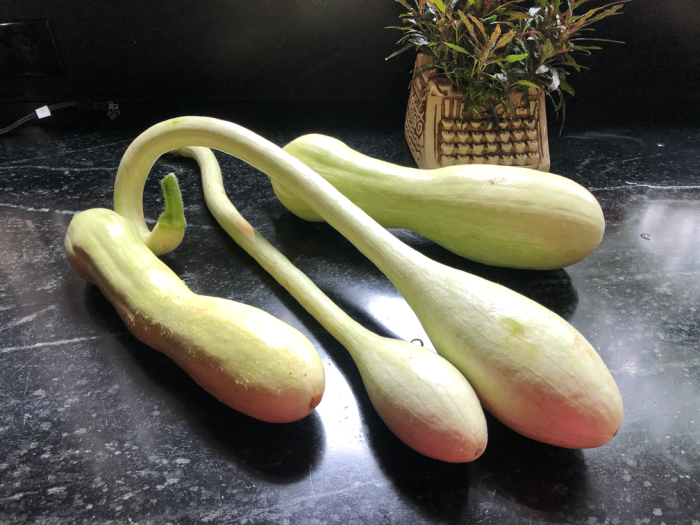
Trombetta variety is typically harvested when the vegetable is smaller and seeds are still undeveloped.
For comparison, this next picture shows the normal size at harvest. See the difference?
Bottom line, you can’t have a Trombetta squash seed harvest without a humongous plant.
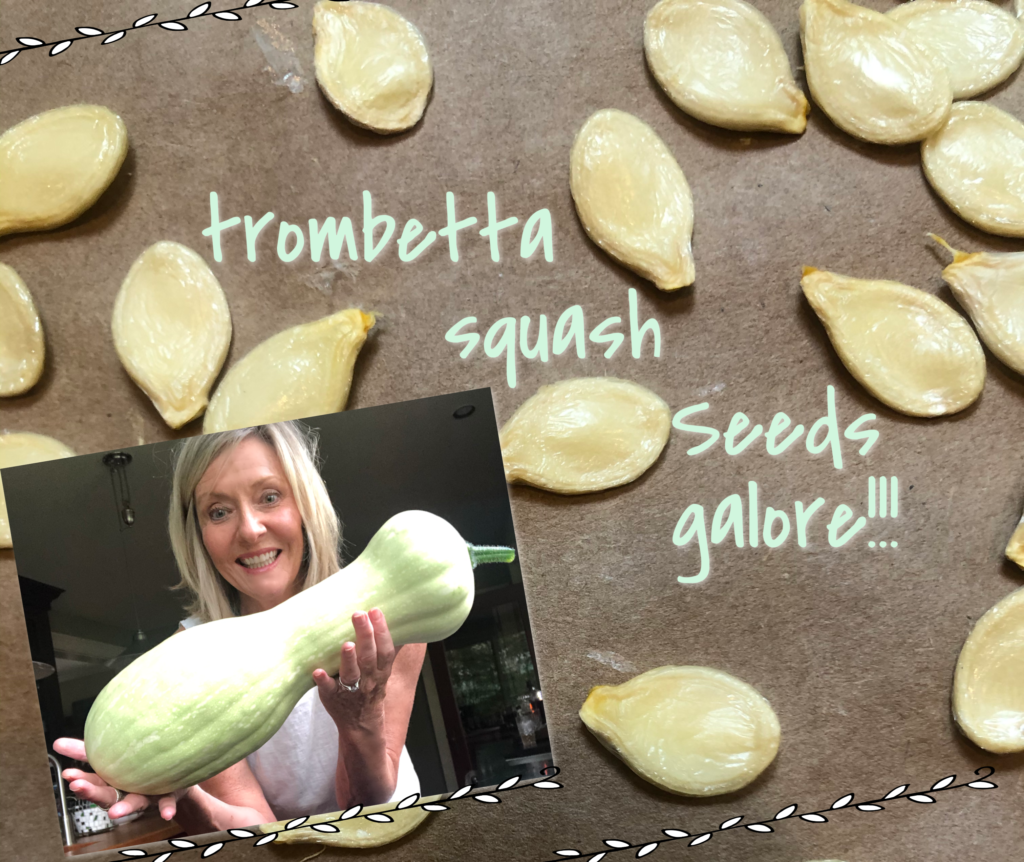
Now I have seeds galore!
Any guesses as to how many seeds came from one large squash?
Removing Seeds
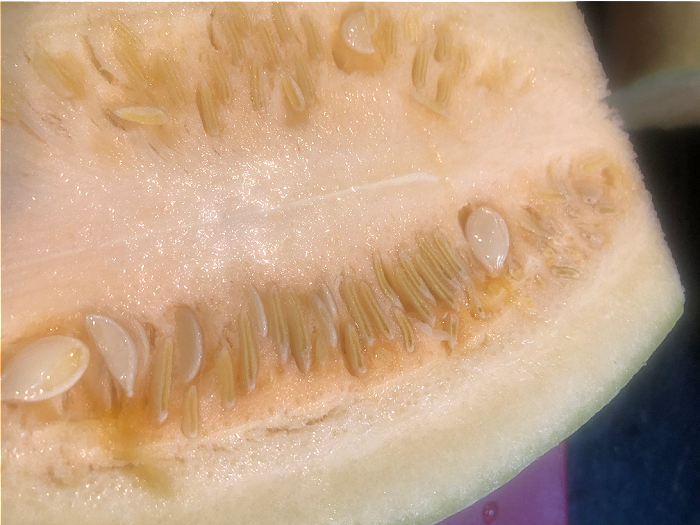
When the seeds of a Trombetta squash form, they grow in the largest, most bulbous part of the plant. I cut that part away from the neck and sliced into it horizontally.
And there they were! Seeds.
The inside reminded me of a cantaloupe, easy to scoop and very pulpy.
Removing the Pulp
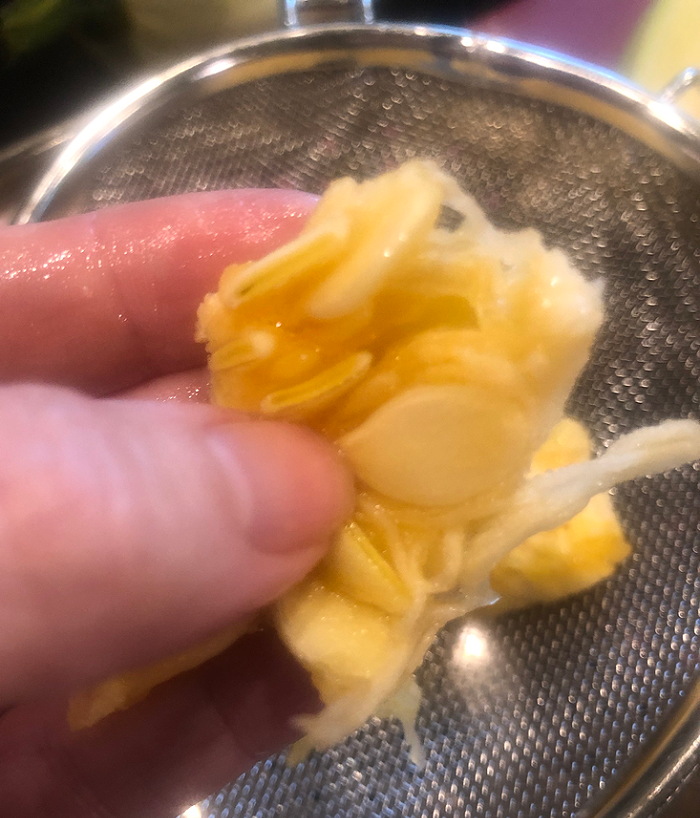
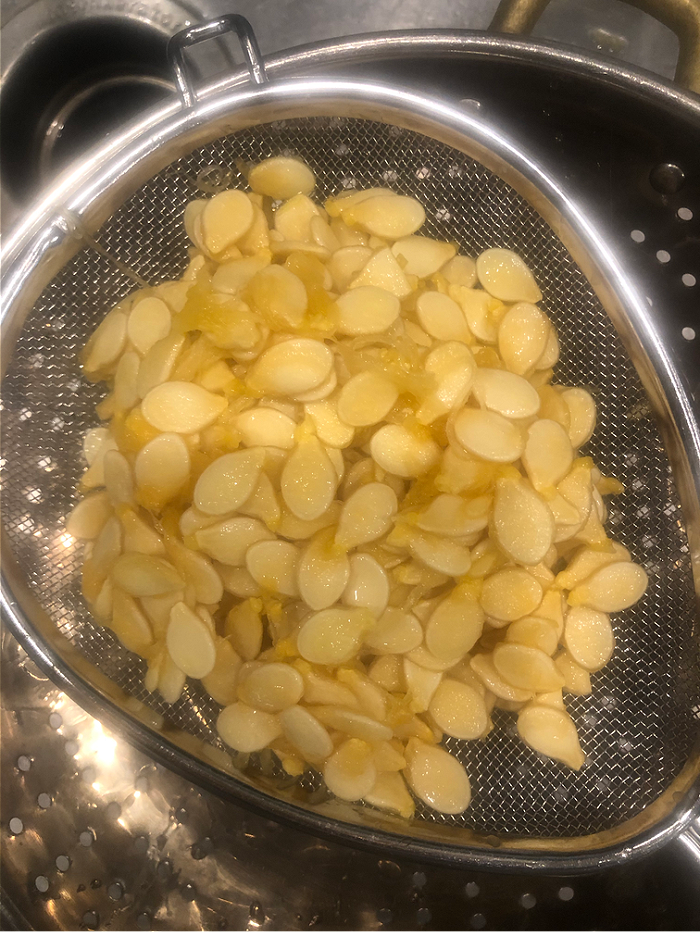
I placed a strainer over my colander and pulled seeds from the squash with my fingers. This was a bit like removing seeds from a pumpkin, but not nearly as messy.
I worked in small batches, rinsing the seeds so that the pulp would pull away.
This is a hands-on project requiring rinsing and swishing and getting your fingers into the mix. The stringy, clingy pulp doesn’t want to separate from the seed. But it’s important to remove every single thread so that the seeds will dry properly.
I should have probably already mentioned—if you don’t have a good hour to spare, save this project for another time.
Drying
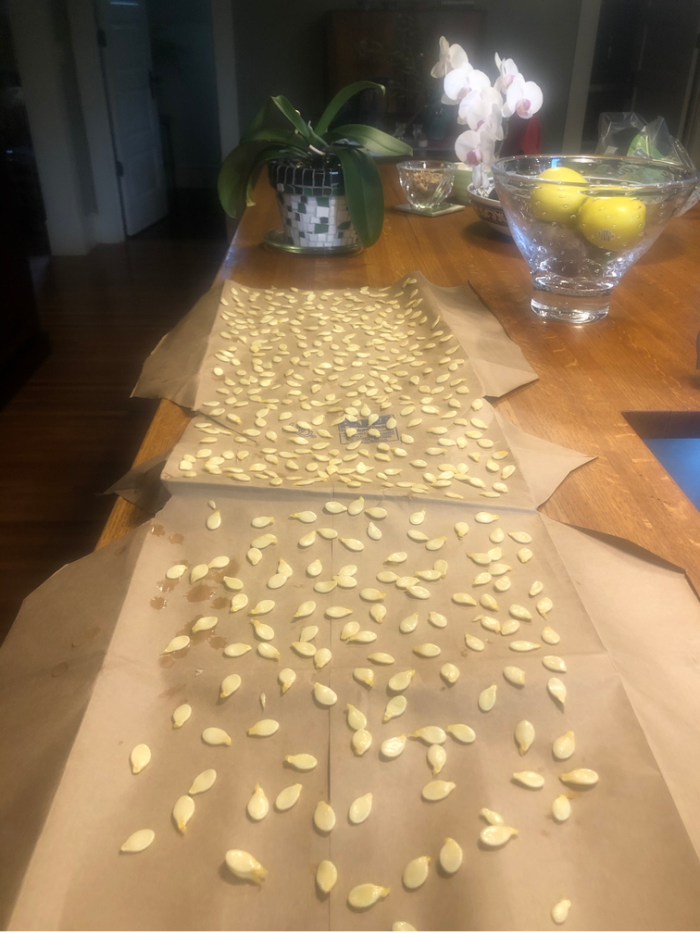
After removing the pulp, again working in small batches, use a paper towel to blot the seeds. Then place the seeds on a paper sack spread flat, removing any stray pulp you might find. Seriously, the pulp will hang on for dear life. (If you compost, please add it to your compost. I think the pulp would appreciate being re-used.)
This part of the process—handling each individual seed and placing it in a dry spot— takes time. But it’s absolutely worth it. Each seed could potentially represent pounds of produce next summer, as well as hours of future gardening enjoyment.
A couple of hours later, turn each seed. This is important because they are still damp.
More Drying
Leave your seeds in a warm-ish area that gets several hours of indirect sunshine every day. I moved mine from the kitchen island where I was originally working to the space beneath the kitchen window where my indoor plants grow best. Wherever you put them, know that you will be working around them for some time.
Turn your seeds once or twice every day.
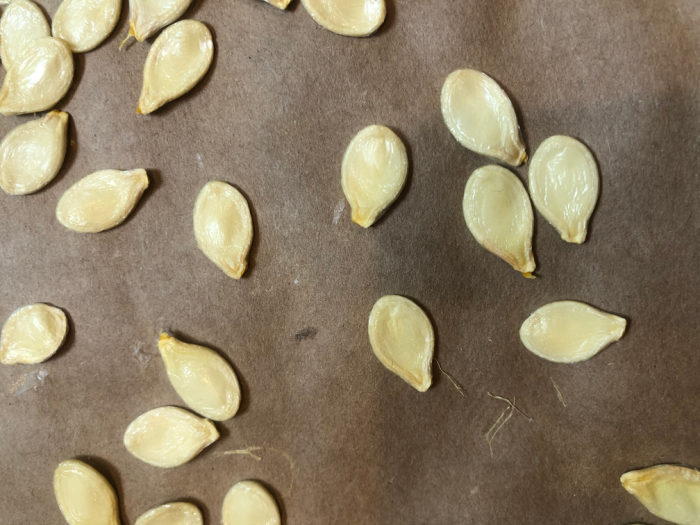
As time passes and your seeds become drier, the turning process becomes easier. Eventually, you can scoop up a handful and scatter them back on the paper sack. The complete drying process takes 7-10 days.
Storing
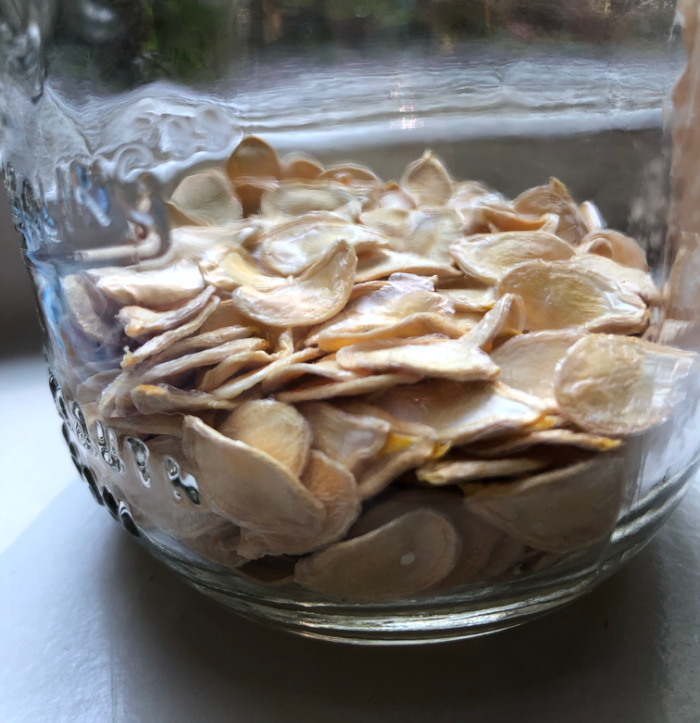
Once the seeds are completely dry, store them in a glass container until you are ready to share with your friends. I left mine on the windowsill for a couple of weeks. I think they are happiest there.
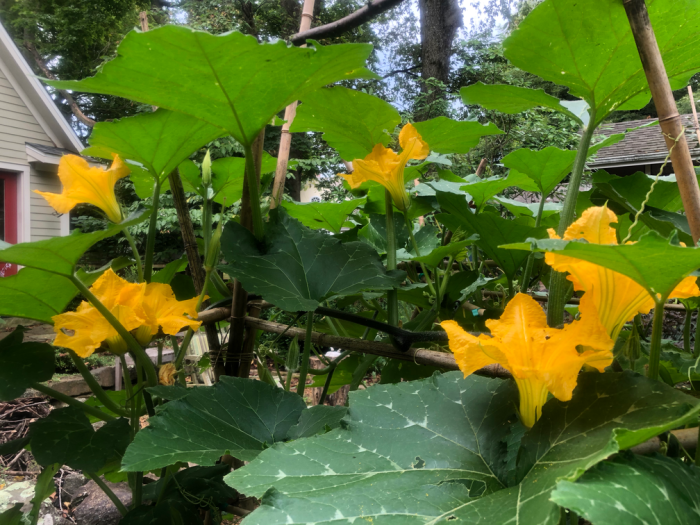
They can see the mother vine from the window. That has to be encouraging, right?
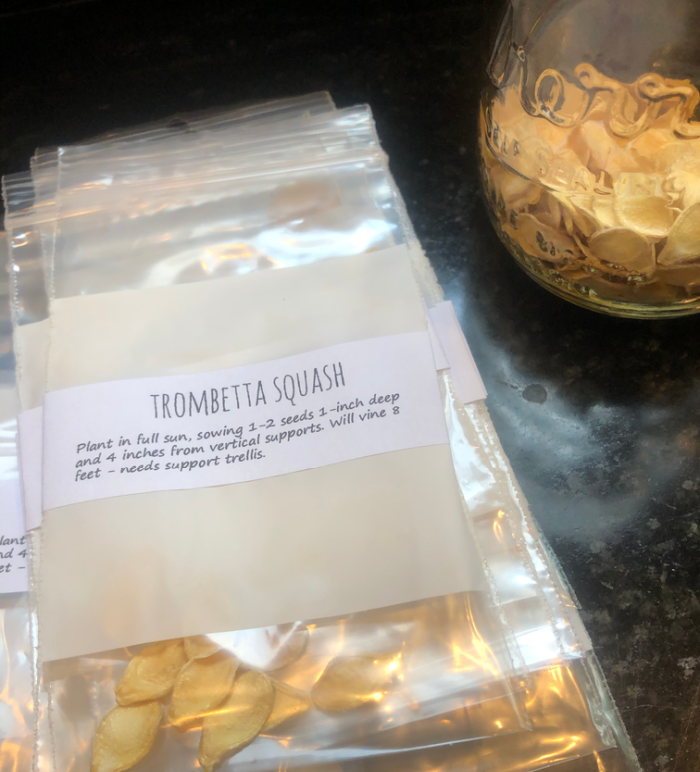
Want Seeds?
If you are interested in growing this plant next year, let me know. I harvested nearly 500 seeds from one Trombetta squash plant.
The experience of planting, growing, harvesting, cooking, eating, and fussing over my Trombetta squash vine, the result of 3 original seeds, has certainly provided a bright spot in an otherwise bizarre year. In fact, I may not have survived this coronavirus summer had I not grown this fabulous plant.
💚
Grace Grits and Gardening
Farm. Food. Garden. Life.


I would love some seeds. How can we get some?
If you want to send me your address, I’ll mail you seeds.
What zone do these grow in?