Today I want to show you how to repot an orchid. It pains me to imagine how many orchids I’ve killed through the years. When I was a busy banker, I truly thought orchids only bloomed once. After that, they were done.
Um, no. Like every living thing—a schnauzer puppy, a milkweed seedling, a carpet of lichen—if you learn what orchids like and treat them with a little TLC, not only will they re-bloom beautifully, but they will grow larger and thrive.
Crazy, I know.
An Expert I am Not
Before we get started, you should know I’m far from an orchid expert. In fact, I’m no expert in any category. Pretty much every gardening thing I know, I learned by trial and error, by reading and doing and making mistakes and trying again. The only type of orchids I grow are Phalaenopsis or moth orchids (which is a great starter orchid), so my instructions are specific to this variety. Some of the fancier, rarer orchids have different requirements with respect to growing and repotting.
Did you know there’s an endangered orchid in Hawaii that grows in a bog? It has to be protected by fencing because wild pigs like to eat it.
Maybe someday I’ll branch out and grow a more exotic variety, but not today.
When To Repot?
Some orchid aficionados repot their newly purchased orchids just after they bloom the first time. The reason for this is not because they have outgrown their pots already, but because orchids purchased at a nursery or retail store have often been packed entirely in sphagnum moss. They will be happier in a chunky soil specific for orchid needs.
I’ve never done this.
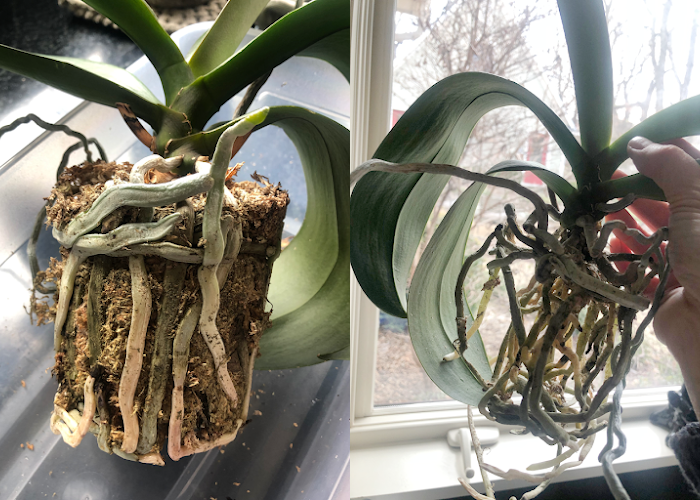
I’ve had my two orchids for several years. Both have bloomed multiple times. Both have been in dire need of repotting, but I’ve evidently become a garden sloth, unwilling to hear their cries for help.
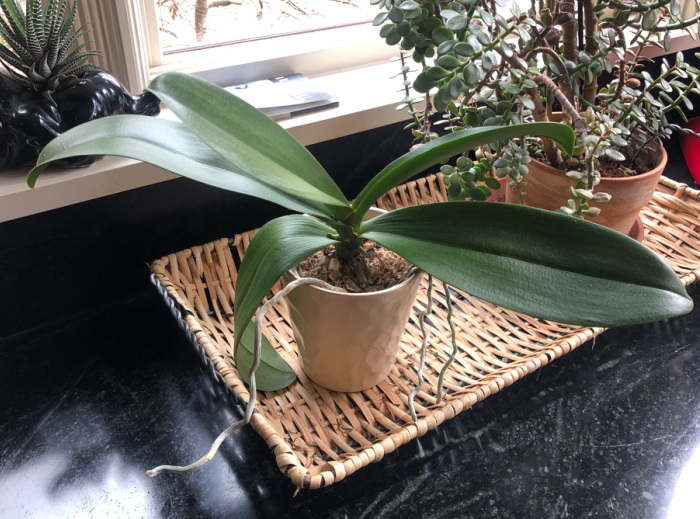
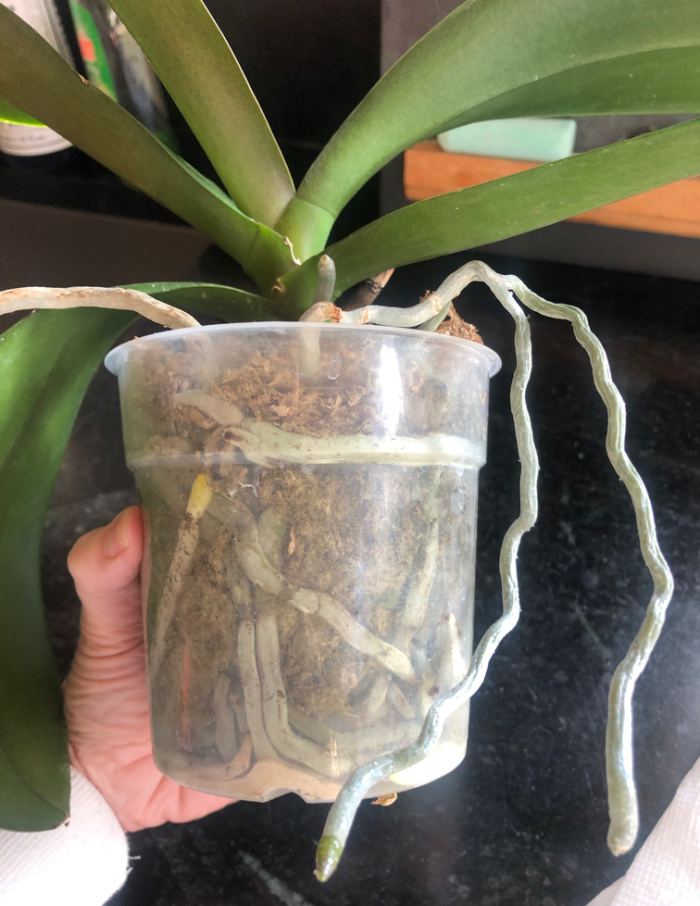
An obvious way to tell? The roots begin crawling out of the pot.
See those long pale roots?
Yikes. Poor thing.
“Help me…”
What You’ll Need
- A larger plastic liner for your orchid—make sure the new liner has drainage holes and is 1-2 inches larger than the orchid’s current container. The orchid needs room to grow, but not too much room. They like to be cozy. I purchased a 4-pack of 6.5 inch liners from Elit Orchid ($14). These liners have holes all around, which I believe is an ideal style for the orchid roots.
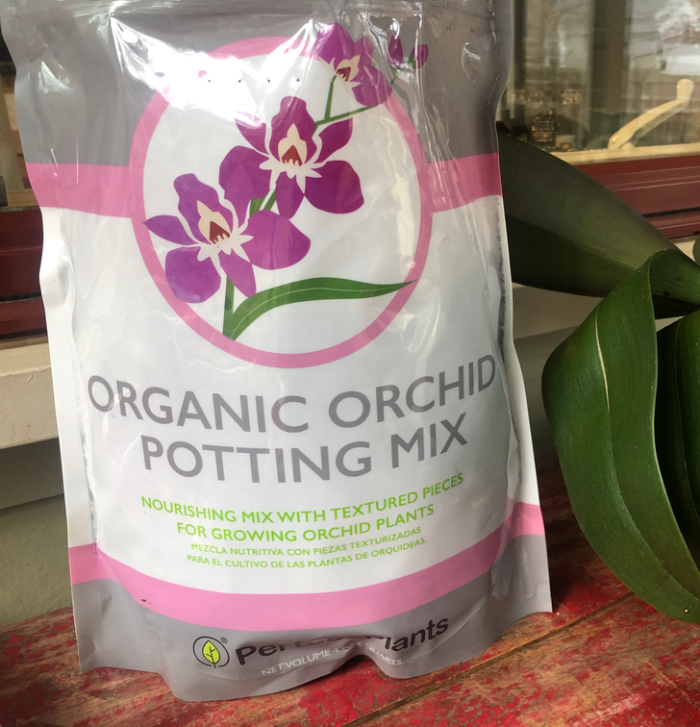
- Orchid potting soil. I used an organic orchid potting mix from Perfect Plants. 4 Quarts for $15 provided plenty of medium for two orchids plus enough leftover for next time.
- Scissors or Clippers.
- A plastic bucket.
Prep Work
- Orchids are prone to disease, so clean your scissors with a mixture of bleach and water. (1/2 cup of bleach to 1 gallon of water is a good ratio for cleaning gardening tools and equipment).
- Since I used a new bag of orchid potting soil and a new plastic liner, I didn’t worry too much about disease. If you are reusing a liner that has been in storage, soak it in bleach/water. If you are using an open bag of orchid soil, pour boiling water over the soil, let it drain and dry out before using.
How to Repot an Orchid
- If your orchid recently stopped blooming and there’s still a long stem growing up from the plant, cut the stem back near the base of the plant using your sterilized scissors. Did I mention, wait until your orchid has stopped blooming to repot? Seems obvious, but maybe not.
- Remove plant from liner. If your plant is root-bound like mine, you may need to carefully squeeze the liner to loosen the plant. This girl had become one with the liner.
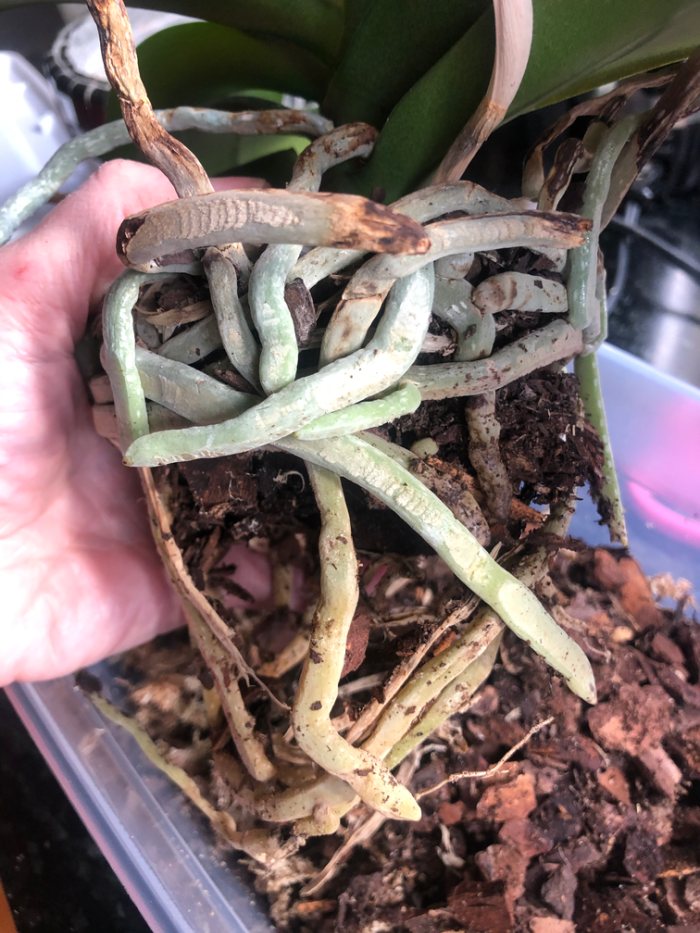
- With your fingers, gently remove all the moss and other medium from around the roots. You’ll be amazed how much is packed between the roots! As you do this, unwind and untangle the roots.
Take a Bath
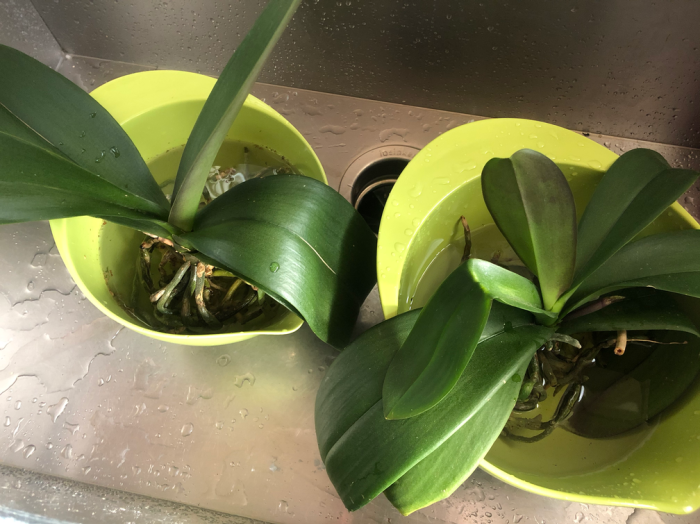
- Once the moss has been removed and the roots untangled, soak the roots in a bowl of room temperature water for ten minutes. This helps to rehydrate the roots and remove any additional potting medium. Some gardeners add a little Epsom Salt to the bathwater. Mine probably would have appreciated it, but in the way of a sloth, I skipped this step. (I do plan to begin using Epsom Salt in my watering routine as recommended in THIS article.) P.S. NEVER ADD REGULAR TABLE SALT. Not the same thing, y’all.
Bathtime!
- Remove orchid from water. It will look so much better at this point!
- Inspect and remove any dead or damaged pieces. As orchids are VERY susceptible to disease, the less you disturb the roots the better. Interestingly, the actual root is located inside the fat waxy tendrils, thin as a hair. Sometimes the damaged parts may fall away, but the root will be fine. (The more roots {and the longer they are}, the better they will take to repotting, as they will cling to the potting soil. I didn’t remove many roots from my orchids.)
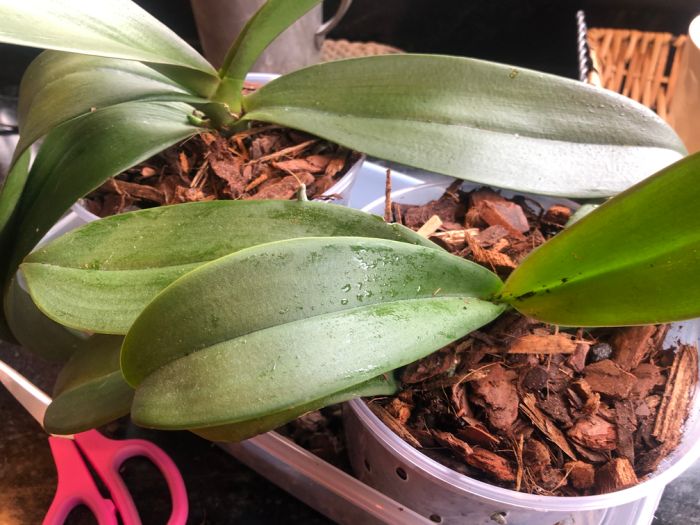
- Add a bit of soil in the bottom of the liner. Place your orchid inside its new home. Pour potting soil all around the roots until the plant is secure inside the liner.
Dress It Up!
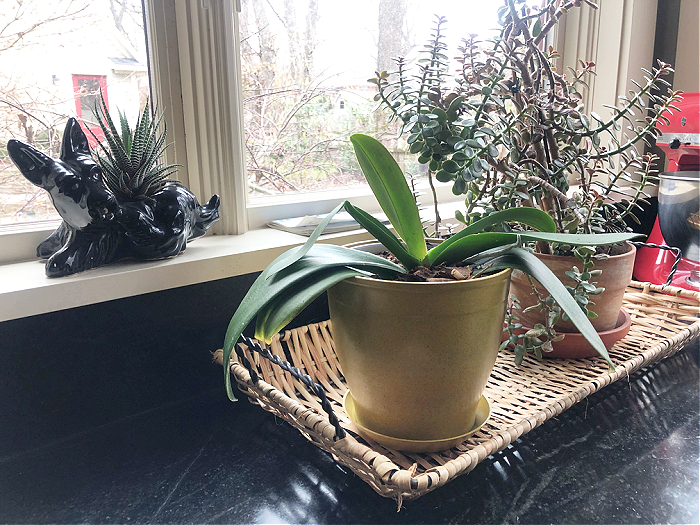
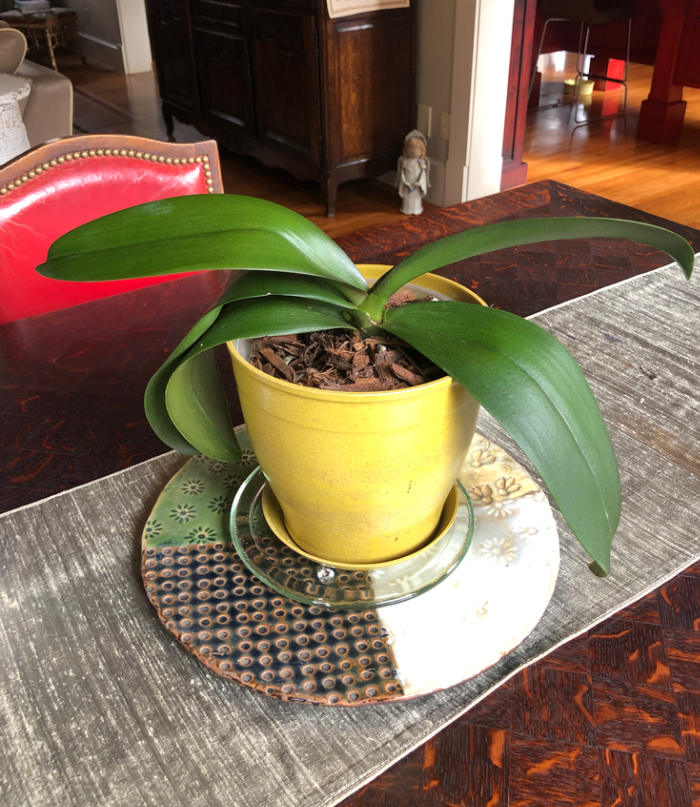
Here’s a crazy coincidence: we discovered that within the collection of existing pots in our garage, NONE were the right size for our repotted orchids. Soooooo, we had the perfect reason to buy two new containers. Plus, it was our wedding anniversary, so no excuse needed.
We decided on two pear-colored containers at Ozark Natural Foods. Designed by Ecoforms, the sustainable, lightweight pots are made from rice hulls. (Cost $6.99 each plus $0.99 for each tray.)
I have our orchids on a strict watering regimen of two ice cubes every Sunday. After repotting, I waited until Sunday to give them their regular drink.
They seem happy and content in their larger homes.
Now, I’ll be waiting and watching and hoping they bloom again. I’m thrilled any time they rebloom! If you missed my earlier post on orchid reblooming tips, click HERE.
Questions? Post them in the comments, and I’ll try to answer you right away.
Happy repotting!
Grace Grits and Gardening
Farm. Food. Garden. Life.



Thanks for the tutorial! I also have two orchids that I can imagine would welcome repotting. I’m always a little surprised and delighted when they rebloom.
I always consider it a miracle!
You really shouldn’t water with ice cubes. It’s being promoted big time in order to sell more orchids to beginners who are intimidated by orchid care. Orchid roots are shocked by ice cold water (makes sense, right? They’re tropical plants!). Use a shot glass instead!
I don’t put the ice on the roots, just the potting soil. And it has been working for me for years. But it does make sense. Thanks for your input.