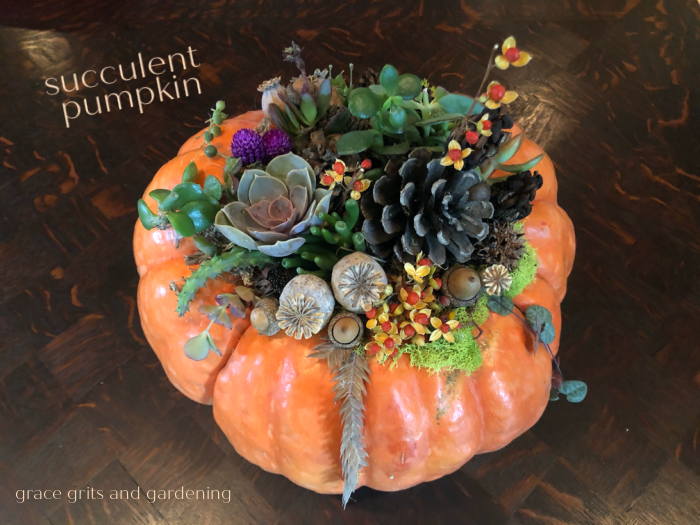
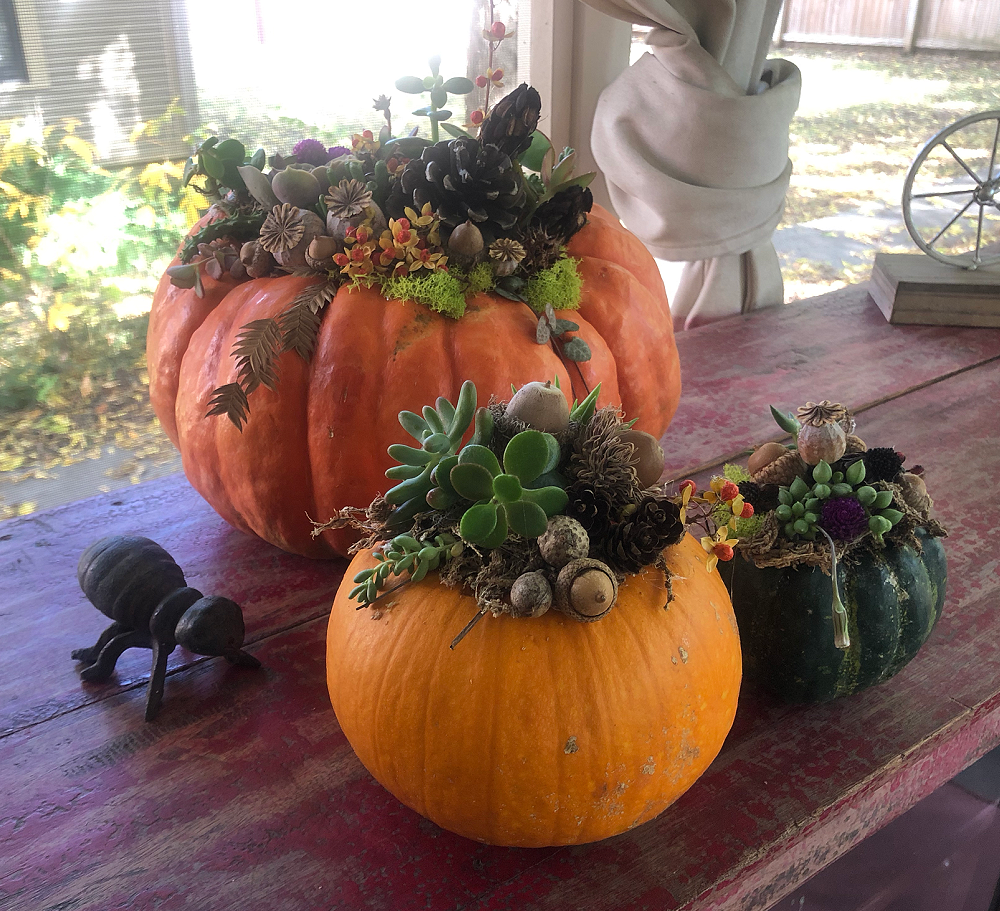
Today I’m going to show you how to make a succulent pumpkin. I predict you will not only love this project, but you will be thrilled with the results. I learned this craft by taking a class at the Botanical Gardens of the Ozarks. I don’t think the fabulous gardeners at BGO would mind that I am sharing what I’ve learned with you.
Isn’t that what we should all do? Spread our knowledge and make the world a better place?
I think so.
And once you know how to make a succulent pumpkin, everything will truly be a tiny bit better. Not kidding. In the category of fall crafts, this might be considered life-changing.
What You Will Need
a Pumpkin (or five) — seriously, this is addictive
Scissors or Garden Hand Clippers
Hot Glue Gun and extra Glue Sticks
Spray Glue Adhesive
a Craft Stick or Toothpick
Sphagnum Moss
Succulents
Natural Decorations
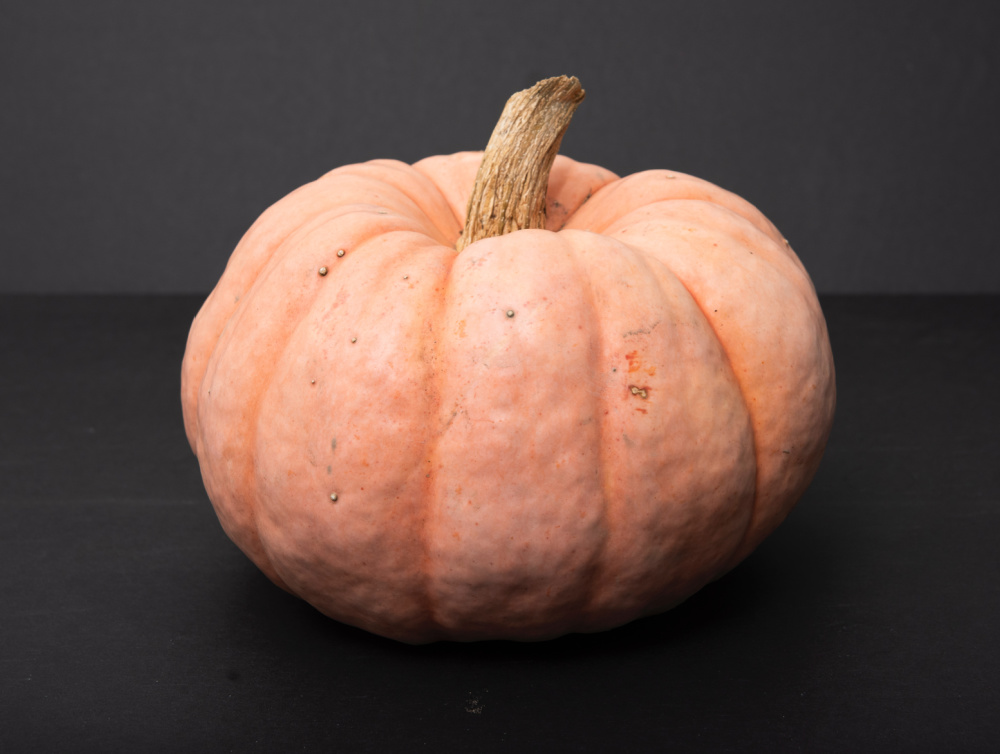
About the pumpkin: This project is for real pumpkins. Flatter pumpkins (like the stackable ones) work better for this project than round ones, because the center around the stem provides a sort of shallow bowl for your creation. Choose any size pumpkin or color appropriate for your display space.
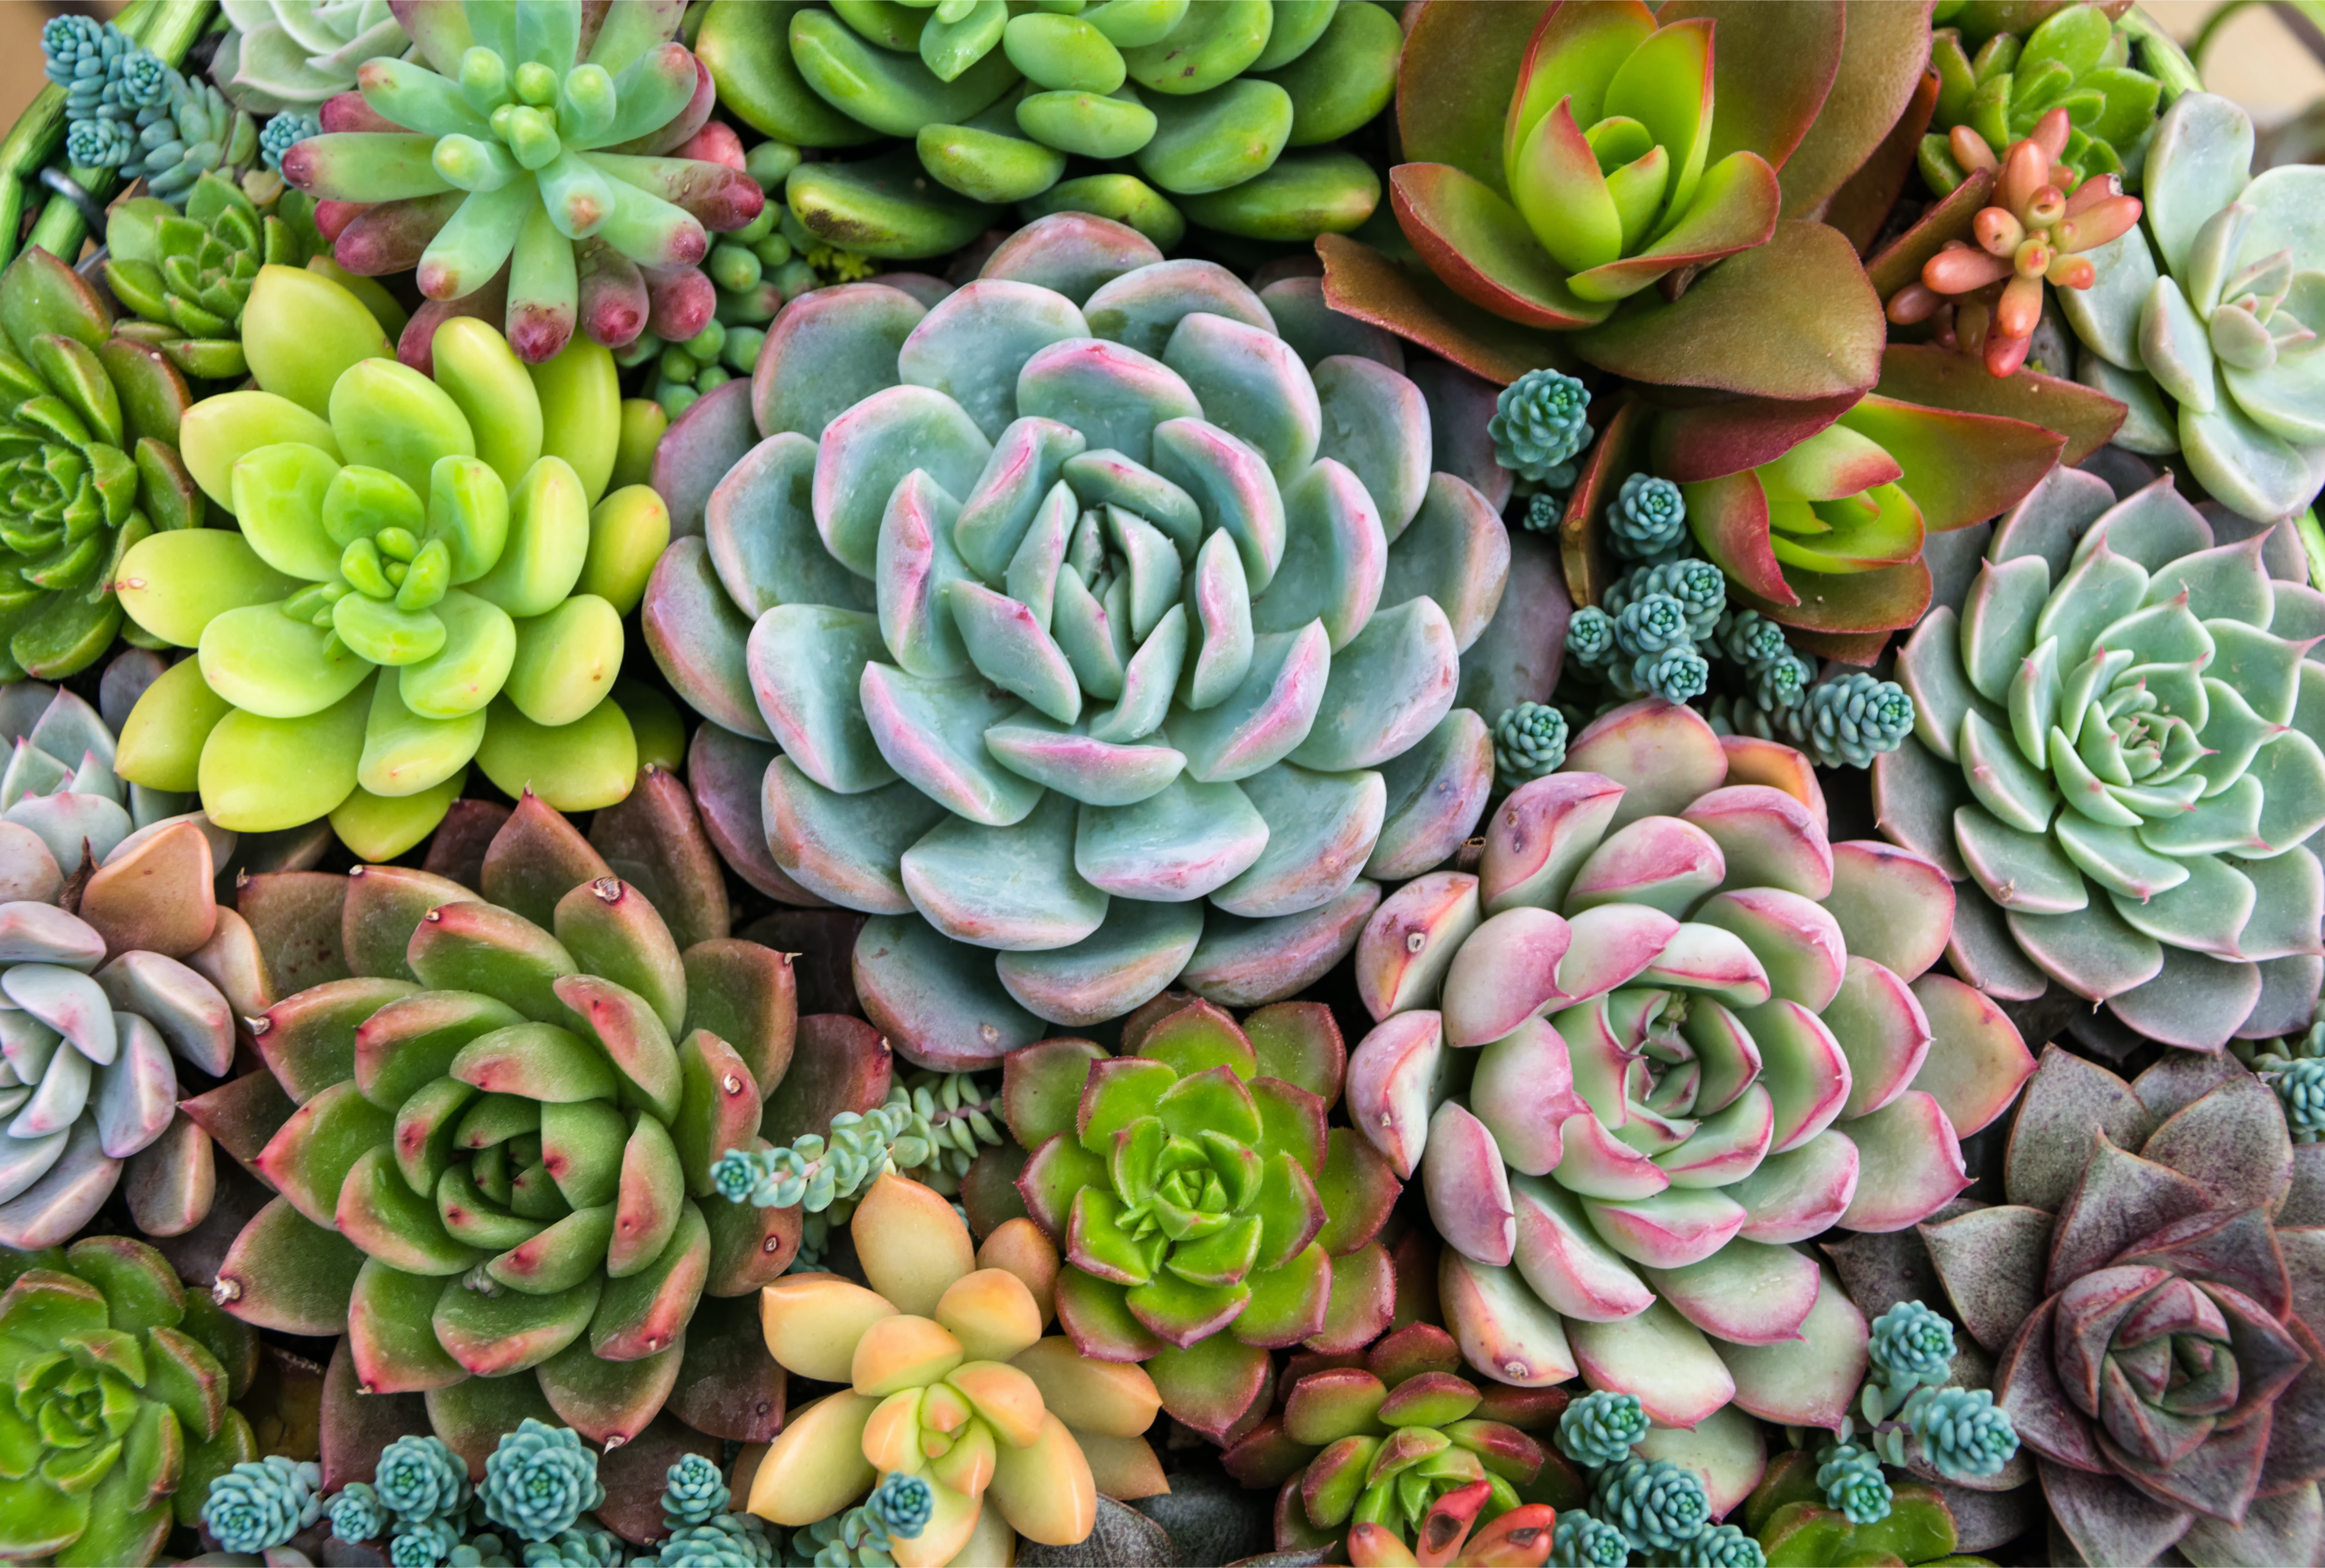
About the succulents: Succulents truly are miracle plants. Give them a little water and sunlight, and they will quickly become your favorite friends. If you grow succulents, you probably know that if a piece breaks off, you can stick it in the soil, and it will root. A new plant will grow from broken pieces, tiny bits of stem, and bare roots.
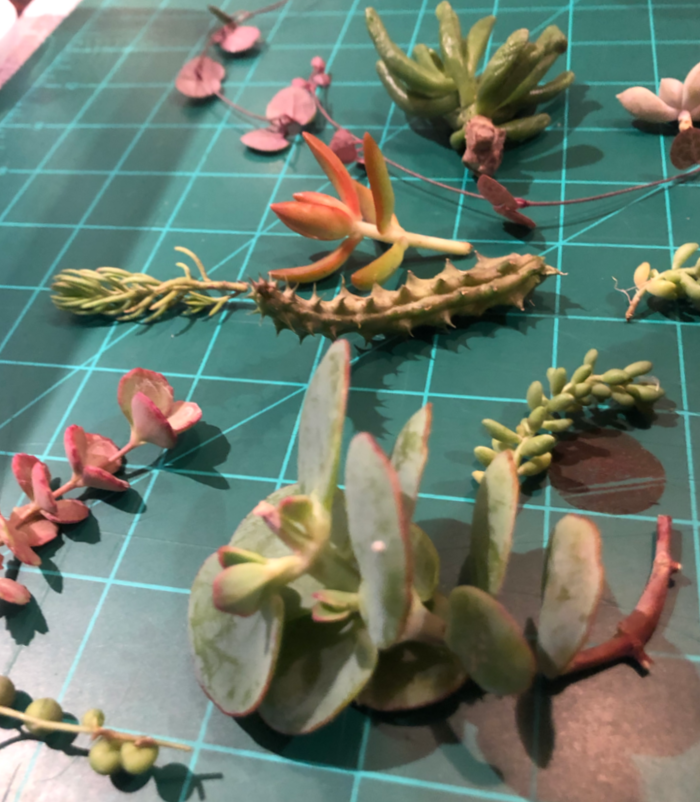
If you are already growing succulents, use cuttings from those you have for this project. If you are planning to buy succulents at a nursery, keep in mind that a variety of different types will add more interest to your finished craft. Like people, succulents comes in all shapes, sizes, and colors.
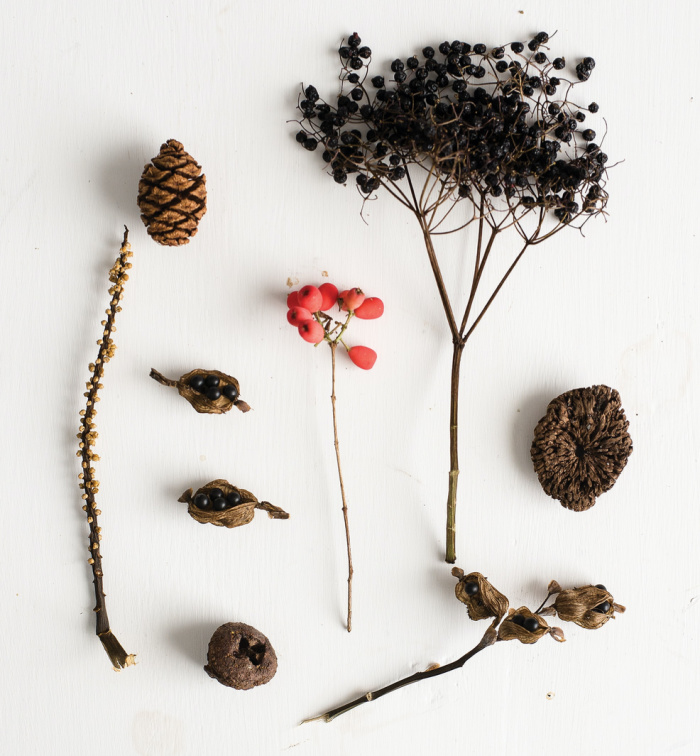
About the decorations: Natural elements provide extra style to your succulent pumpkin arrangement. This time of year, there are plenty of options free for the taking—a variety of acorns and pinecones, dried seed pods and flower heads, dried vines and stems, moss, cotton stalks, rose hips, nuts, and more. Keep an eye out for these materials when you go for a walk. Or, make a special trip to a park and start collecting.
Everything should be dry before using. (And watch for bugs or spiders that might hitch a ride on a flower pod inside your home. I speak from experience.)
Prepare Your Work Station
Cover your table with newspaper or a cloth that you don’t mind getting dirty. This project can be messy.
Arrange your supplies within easy reach.
Plug in your hot glue gun and let it warm.
How To Make a Succulent Pumpkin
At the end of this post, I’ve included my video demonstration of this craft. I’ve also included step-by-step written instructions here:
Step One: Spray the top of the pumpkin with a light coating of adhesive glue. This is very sticky, so only spray a circular area where you plan to add succulents.
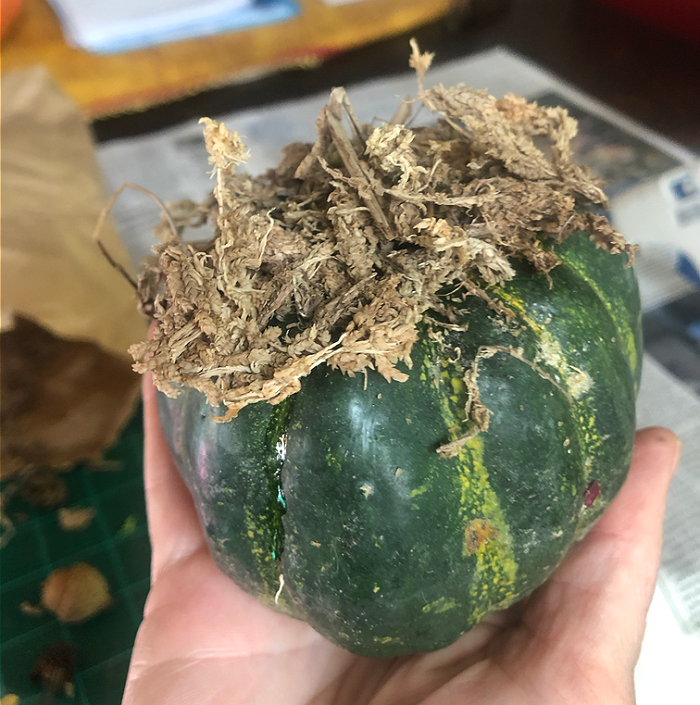
Step Two: Working quickly, press sphagnum moss onto the top of the pumpkin. Add it everywhere there is glue, but don’t add too thick a layer. When you have finished, hold your pumpkin upside down and gently shake to remove any moss that isn’t glued down. The succulent stems will ultimately grow into the sphagnum layer.
Step Three: Now it’s time to add our succulents and decorations.
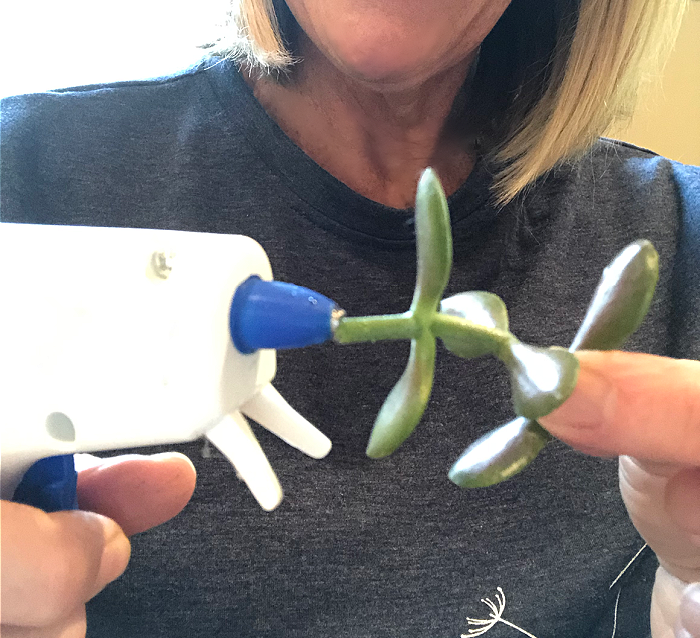
Starting inside closest to the pumpkin stem, hot glue one of your larger decorations (such as a pinecone) to the sphagnum moss. Next to it, add a tiny dab of hot glue to a succulent stem and affix it to the moss. I KNOW IT WILL SEEM INCREDIBLY WRONG TO BE HOT GLUING SUCCULENTS. But it doesn’t hurt them. Wherever the succulents touch the moss, roots will soon begin to sprout and grow. The moss becomes its soil. (Make sure you glue the succulent into the moss and not directly onto the pumpkin.)
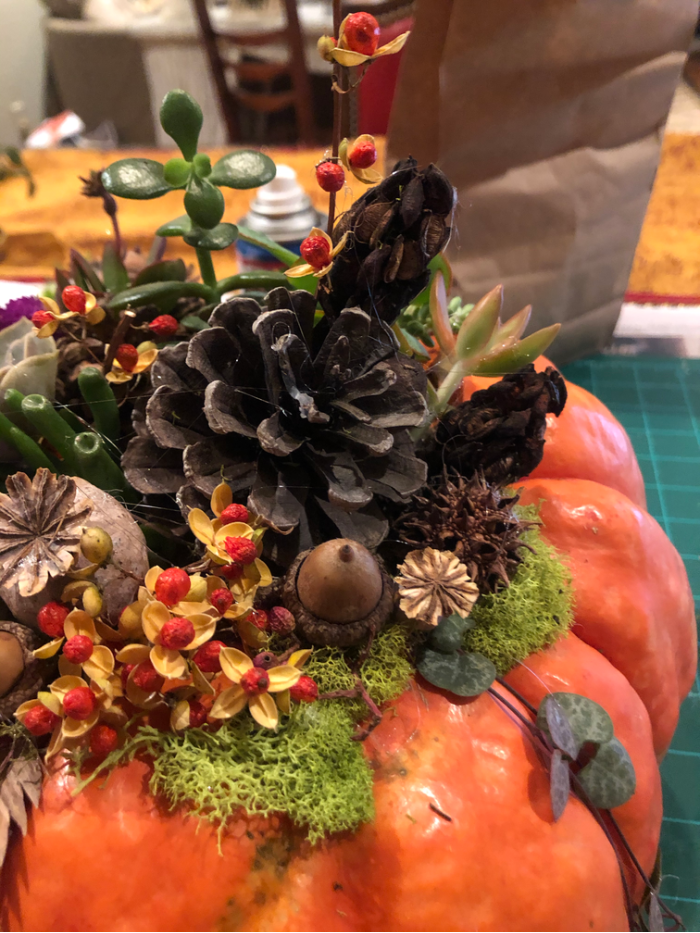
Working inside to outside, continue gluing acorns and flower pods and succulents all around the top of the pumpkin, turning your pumpkin as you go so that the arrangement stays balanced. (The wooden craft stick can be useful when pressing a small decoration in place while trying to keep hot glue away from your fingers).
Once you reach the outside edge of your moss, bright green reindeer moss and small trailing succulents add a finishing touch.
Tips: 1) There is really no right or wrong way to do this. 2) Be creative and don’t overthink it.
Step Four: At some point you will have to force yourself to call it finished, because you’ll want to keep going. It’s so much fun! Once you are finished, wait several hours or overnight before pulling off the dried strings of hot glue. Hot glue strings are simply a fact of glue gun life. But they come off easily.
Step Five: After you remove the glue strings, lightly mist your succulent pumpkin with water. Mist it every couple of days.
Step Six: Weeks later, say at Christmastime when you don’t especially want a pumpkin on your dining room table, slice the top of your pumpkin off—in much the same way you would cut the top off of a pumpkin to clean and carve it—and plant the succulent top of your pumpkin in a pot filled with potting soil. The pumpkin will break down in the potting soil and the succulents will live on.
Next fall when you are ready to make a succulent pumpkin, you’ll be snipping stems from it!
🌱🌱🌱
So what do you think? Is this something you plan to try? If so, I hope you’ll share your pictures with me.
Questions? Just ask.
My Video Demonstration
I made a video to further demonstrate how to make a succulent pumpkin. Give it a watch if you’d like, just know I am not a professional videographer or demonstrator. Ha.
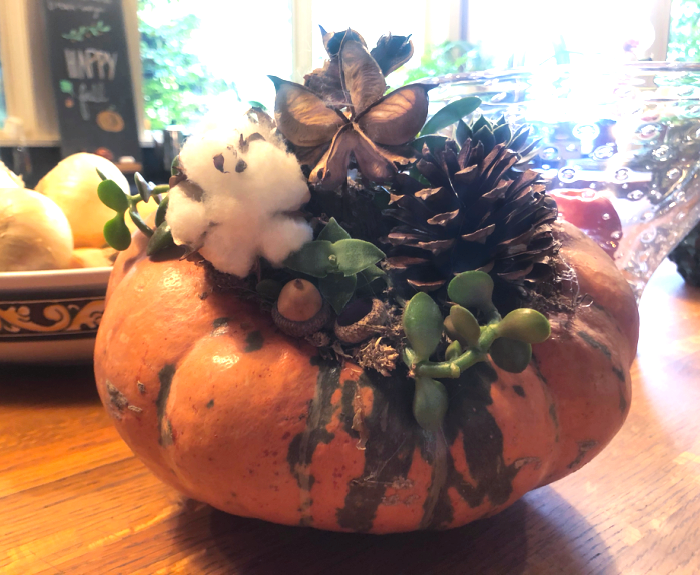
Here’s the succulent pumpkin I made during the video. I love how the cotton turned out!
Now it’s your turn. Have fun!
Grace Grits and Gardening
Farm. Food. Garden. Life.


I love them! Your instructions are clear and easy to follow. I’m going to make several. Thank you!
Can’t wait to see yours!
I will save instructions for next year! I love the idea that I can plant it in a pot to continue growing.
Yes, me too! Since this is my first time to make these, I’ll be curious to see how these look this time next year.
Those are so cute. Great demonstration. You did a great job.
Cutting the top off of the pumpkin and planting it is so smart. I will try this project!
Great! Have fun!