I made Christmas trees using pages from a vintage children’s book.
(Consider this a great way to recycle damaged books that would otherwise end up in a crowded landfill. The old Dick and Jane book I used had torn and missing pages and was of no value to a reader.)
For my example, I made tree ornaments and paper bunting, but these trees can be used in a variety of creative ways such as holiday cards, bookmarks or as scrapbook embellishments.
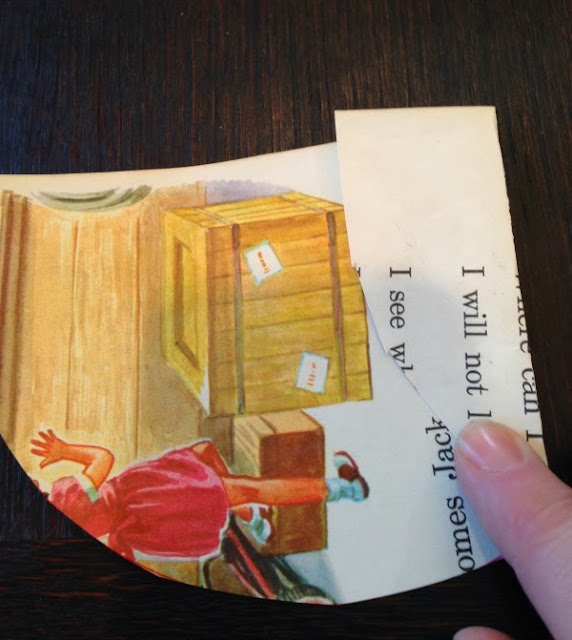
To begin, start with a half circle. (Any size will work, but the size will determine your tree.)
To make my half circle, I placed the center of a bowl on the middle edge of a page and outlined around the top of the bowl. If you aren’t a fly-by-the-seat-of-your-pants kind of crafter (like I am), you can use a template. But, it doesn’t have to be perfect…
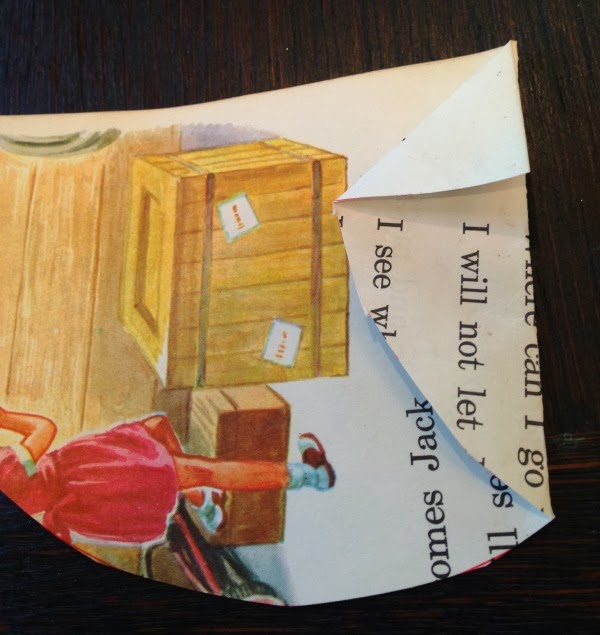
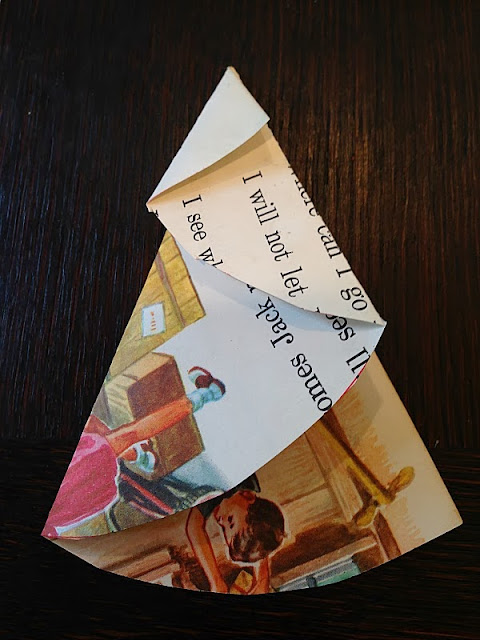
After you cut out your half circle, fold the right side over almost to the center of the page, placing the edge a tiny bit above the paper.
Fold the corner back. This point will be the top of your tree.
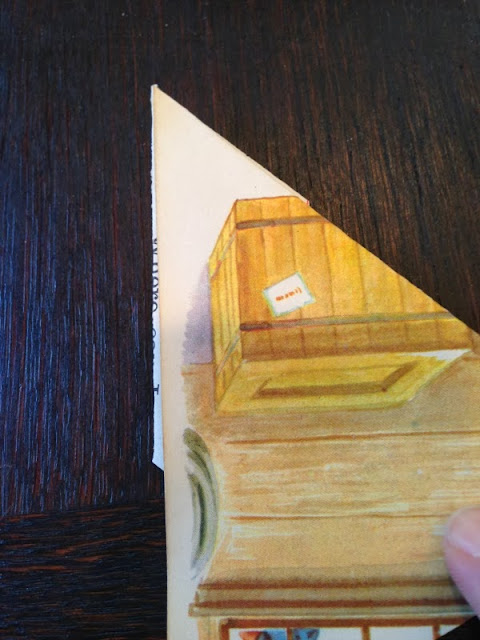
Flip over the paper.
Fold the top right side down (almost to the edge but not quite) to make a triangle.
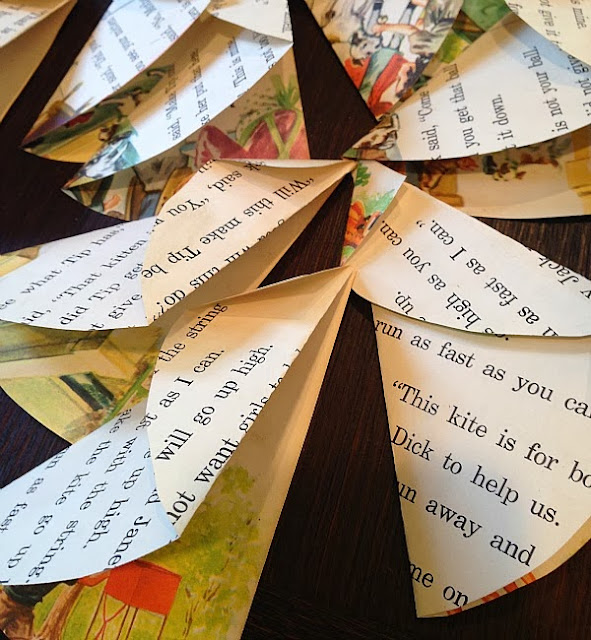
Flip it back over again and voila! A Christmas tree.
 |
| cute already! |
Seriously, you can make dozens in no time…
Now for the best part!
Decorate your trees with supplies on hand—buttons, rick rack, glitter, ribbon, stamps, jingle bells, etc.
Hot glue tree trunks to the bottom using card stock or scrapbook paper.
For Christmas ornaments, hole punch the top and string a loop of ribbon to make a tree hanger.
 |
| vintage red buttons |
 |
| vintage green rick rack and a jingle bell |
I made bunting by stringing four trees together, stamping the word “Snow” and adding red glitter to the boughs.
 |
| red glitter, contrasting tree trunks, “Snow” bunting… |
This project works well with scrapbook paper or sheet music as well. Just remember, both sides of the page show, so use paper with complementary front and back colors.
Whatdya think?
talya
Grace Grits and Gardening
Farm. Food. Garden. Life.


